A VCR receiver enables the user to play music or watch a movie on a flat-screen television. Despite being effective, sometimes it may fail to turn on annoying the users, especially those people who like watching or listening to music. The root causes of the device failing to turn on include; power blackout, fault VCR device, blown fuse, and loose wiring.
Sometimes, it is advisable to try fixing the VCR problems yourself before seeking help from a technician. First, to resolve such issues, identify the root cause of the problems and fix the problem depending on the cause. For example, if the problem is due to loose wiring, consider tightening the wires first.
Luckily, the article below gives a step-by-step guide on fixing a VCR receiver that won’t turn on. Also, it shows the leading causes of the receiver failing to power on. Follow the steps below carefully to obtain the best results.
Table of Contents
Steps of troubleshooting a VCR receiver failing to turn on
Follow the steps below to fix your VCR speaker that is failing to turn on.

A. Check the power supply on the VCR receiver
There is an issue with the receiver’s power source if it fails to switch on. To check the power supply on the VCR receiver;
- Check to see if your television is turned on.
- On the front panel of your receiver, locate the power button and press it gently. Move to the next step if your receiver does not turn on.
- Remove the power cord’s ends from the rear of your receiver and the electrical outlet. Afterward, at both ends, firmly plug in the power cord.
- If a light switch controls the electrical outlet, ensure you turn it on.
- Make sure you turn on the power strip that your receiver is connected to.
- On the front side of your receiver, click the Power button. If the problem persists, inspect the electrical outlet and solve any issues detected or consider replacing the electrical outlet.
If the process above fails to eliminate the problem, reset the whole device before contacting a technician. You can reboot the VCR receiver device by pressing the reset button, unplugging it, or recovering factory settings. To reset your VCR device, follow the steps below.
Find the position of the reset button and press it. A little red switch is positioned within the access card door on most DIRECTV receivers. The button on certain receivers is on the side of the VCR receiver.
Allow your receiver to restart after clicking the red button. To reconfigure a VCR receiver, you must also restart the main components. Local stations are restored after you reconfigure your VCR receiver.
2) Remove the receiver from the socket
Remove the power cord from your receiver and wait for a couple of seconds, approximately 17 seconds, before plugging it back in. On the front side of your receiver, press the Power button. Allow for a restart of your receiver.
3) Reset your receiver’s configuration to factory defaults
The approach wipes off personalized options, albums, and personal favorites. On the front side of your receiver, press and hold the VCR power button. Hold it for a couple of seconds, approximately 20 seconds, and let go. When resolving, resetting, and reauthorizing your service is suggested to solve many problems.
B. Check the condition of the fuses
The receiver contains Integrated Circuit (IC) protectors that regulate the amount of power flowing when switching on the power source or when the receiver is in use. Sometimes, the fuses present in the receiver may blow out the voltage regulator preventing power transmission resulting in the receiver failing to turn on.
Before replacing the whole receiver, first, inspect the condition of the device fuses. If they are blown out, consider replacing them first and testing the device before proceeding to the next step or taking the device to a professional technician. Also, refer to the manufacturer’s manual guide and confirm the power voltages to ensure the device is using the voltage.
C. Check the VCR receiver wiring
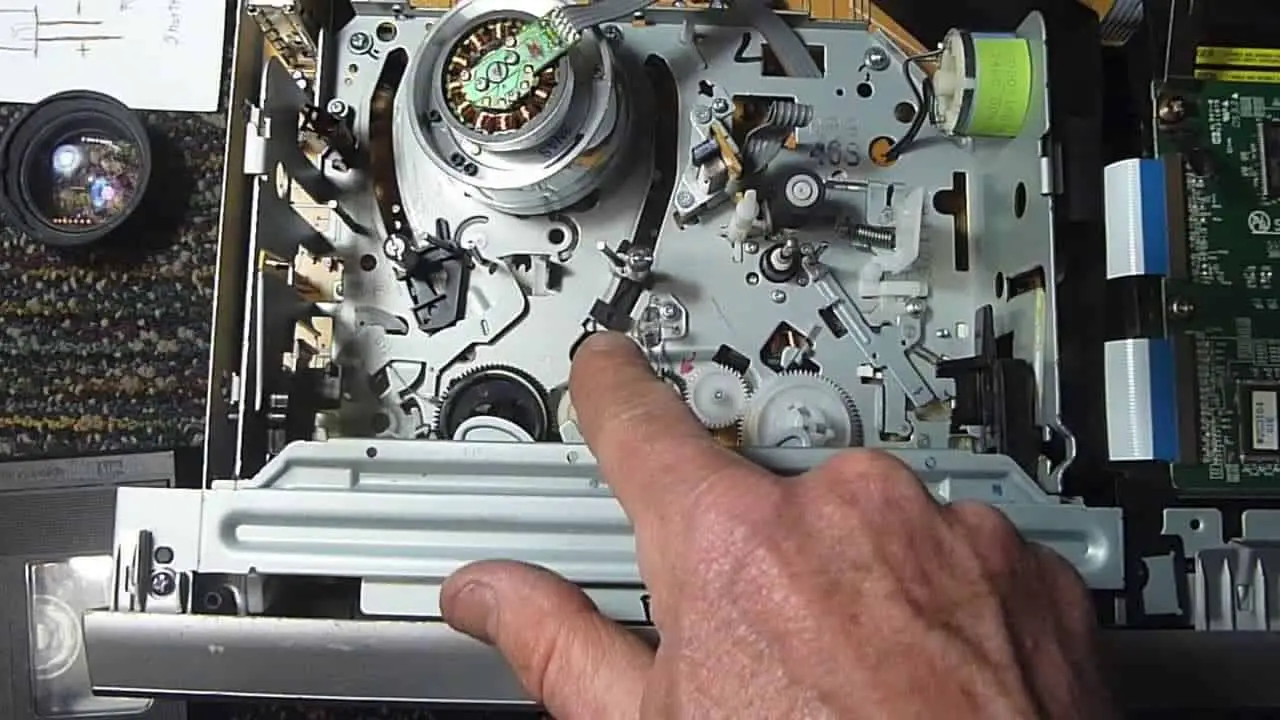
Sometimes, the wires present in the VCR receive may loosen and fail to transmit enough power to turn on the device. The only possible solution is to tighten the cables correctly but not firmly. First, open the receiver and unscrew all bolts holding the cover in position.
After opening, check all wires present and detect any issues. If the wires are loose, use the appropriate tool and screw them back in position. Ensure the terminal matches correctly match to avoid reverse polarization. If the wires are blown or damaged beyond repair, consider replacing them with one that suits the receiver perfectly.
Some people fail to perform the wiring process on their own. Such individuals must seek help or take the device to the repair shop for maximum attendance. Test the device and if the device fails to turn on again, proceed to check the whole VCR receiver.
D. Replace the whole VCR receiver
If the whole device is faulty, it will automatically fail to turn on. A defective VCR receiver means the entire device, together with its parts, is not responding. Fixing the whole device might be expensive because most parts will require replacement.
If the whole device is faulty, it is advisable to consider buying another one with the latest design and version. Also, consult first or research on the best VCR receiver with advanced features and functions as required.
Main causes of VCR not turning on
There are several reasons why your VCR receiver may fail to turn on. They include;
1. Fault power supply source
Power blackout or faulty power source is the common cause of the VCR receiver failing to turn on. If there is a power blackout, there is no power transmission to the receiver that will turn it on. In such a situation, first, check if there is power and see if both the electrical cable and socket are functioning well. You can also try using another socket.
2. Fault VCR receiver
A wholly damaged VCR receiver will automatically fail to function as usual. Buying another VCR receiver is the only solution.
3. Loose wiring
Loose wires prevent power transmission from the power source to the receiver preventing the receiver from powering on. First, check the condition of the cables and troubleshoot them if any issues are detected.
Frequently asked questions
How can I fix a VCR that won’t detect video cassettes?
Step 1: Disconnect your VCR
You must be able to manipulate the various switches without the VCR taking over automatically to test the mechanisms inside the device.
Step 2: Slowly slide a tape into the VCR
Slowly slide a tape into the VCR until you see where the cassette catches on a sliding technique known as the “cassette loading mechanism” using the flashlight. Take the cassette and manually rotate the mechanism in both directions to ensure it is still working correctly. The cassette loading mechanism “feeds” the cassette into the VCR by catching it.
Step 3: Insert the tape halfway into the VCR
Insert the tape halfway into the VCR until the cassette loading mechanism engages, then plug the VCR into an AC power outlet. The little technique allows the VCR to recognize the cassette if there are no technical or mechanical issues.
Conclusion
Many people experience the problem of a VCR receiver failing to turn on due to several reasons. The article above summarizes the root causes of the VCR receiver failing to turn on and the steps to follow to fix such issues. Also, it describes how you can reset the receiver.
Finally, it is crucial to take precautions, such as consulting the manufacturer of the manual guide in case of any faults. Also, it is advisable to clean the VCR receiver to remove any dust and organic debris accumulated to improve its performance.